
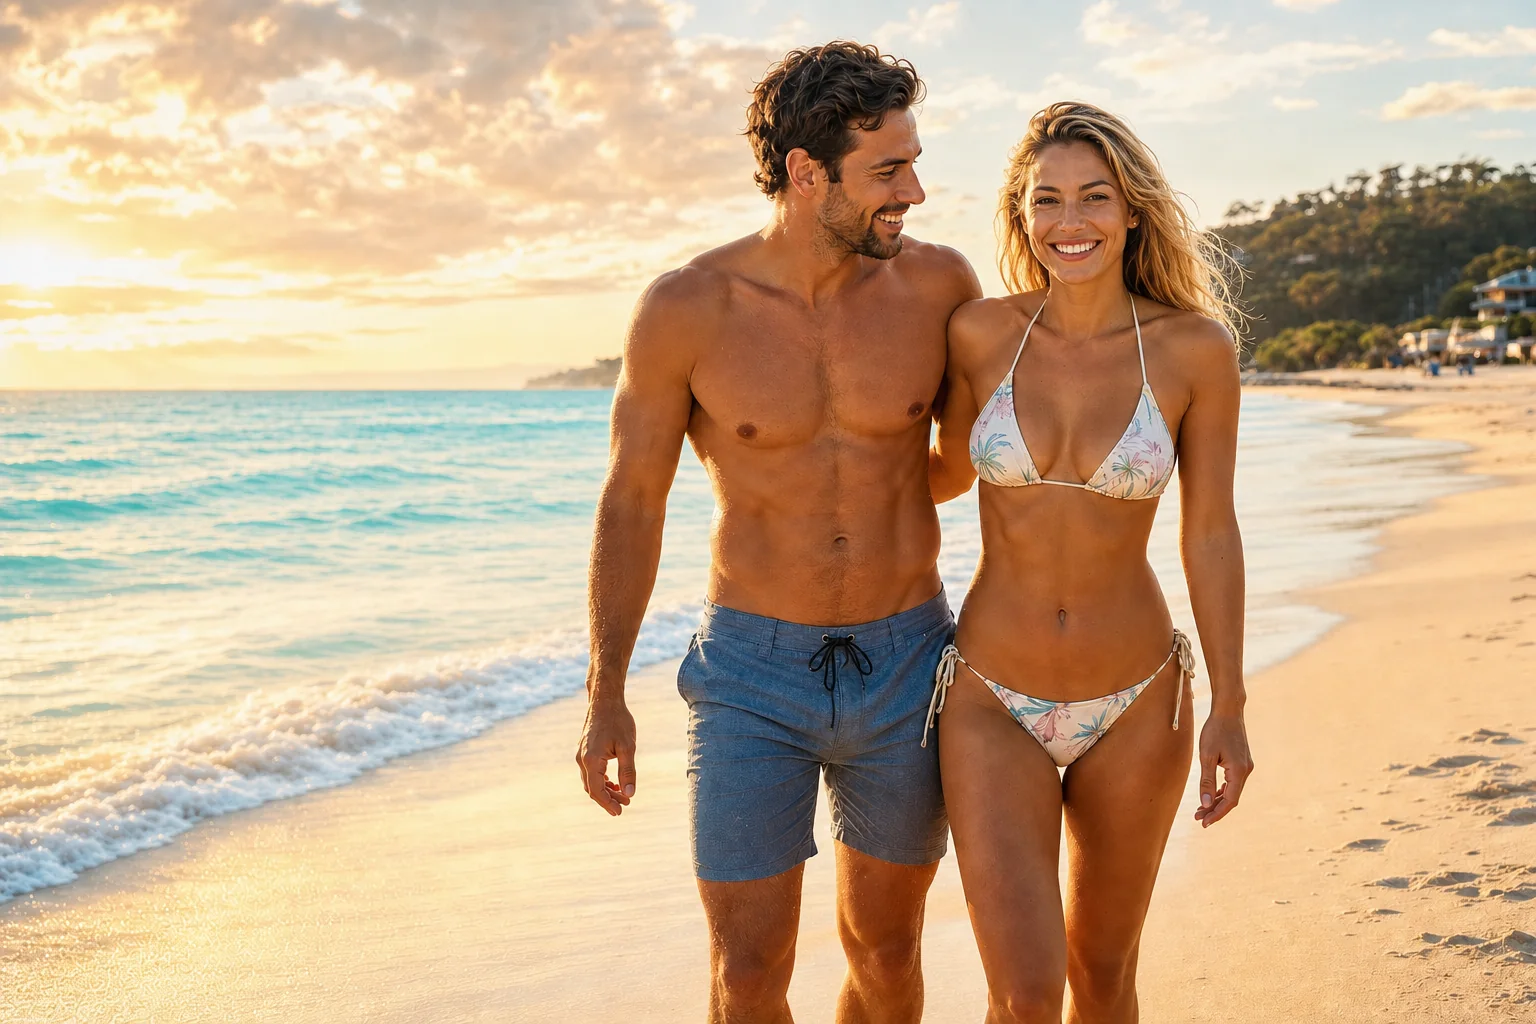
Plan decisions, not predictions
A useful forecast starts with the photograph
A photography forecast should not tell you whether the weather is simply good or bad. It should tell you what kind of photograph the conditions can support, what could disrupt the session and when you need to arrive.
Clear sky can produce clean colour and strong shape. Broken cloud can add texture and catch late light. Overcast conditions can soften faces. A shower can create reflections, while wind can make an otherwise beautiful portrait location difficult to use. The right decision depends on the subject, not on chasing one perfect weather icon.
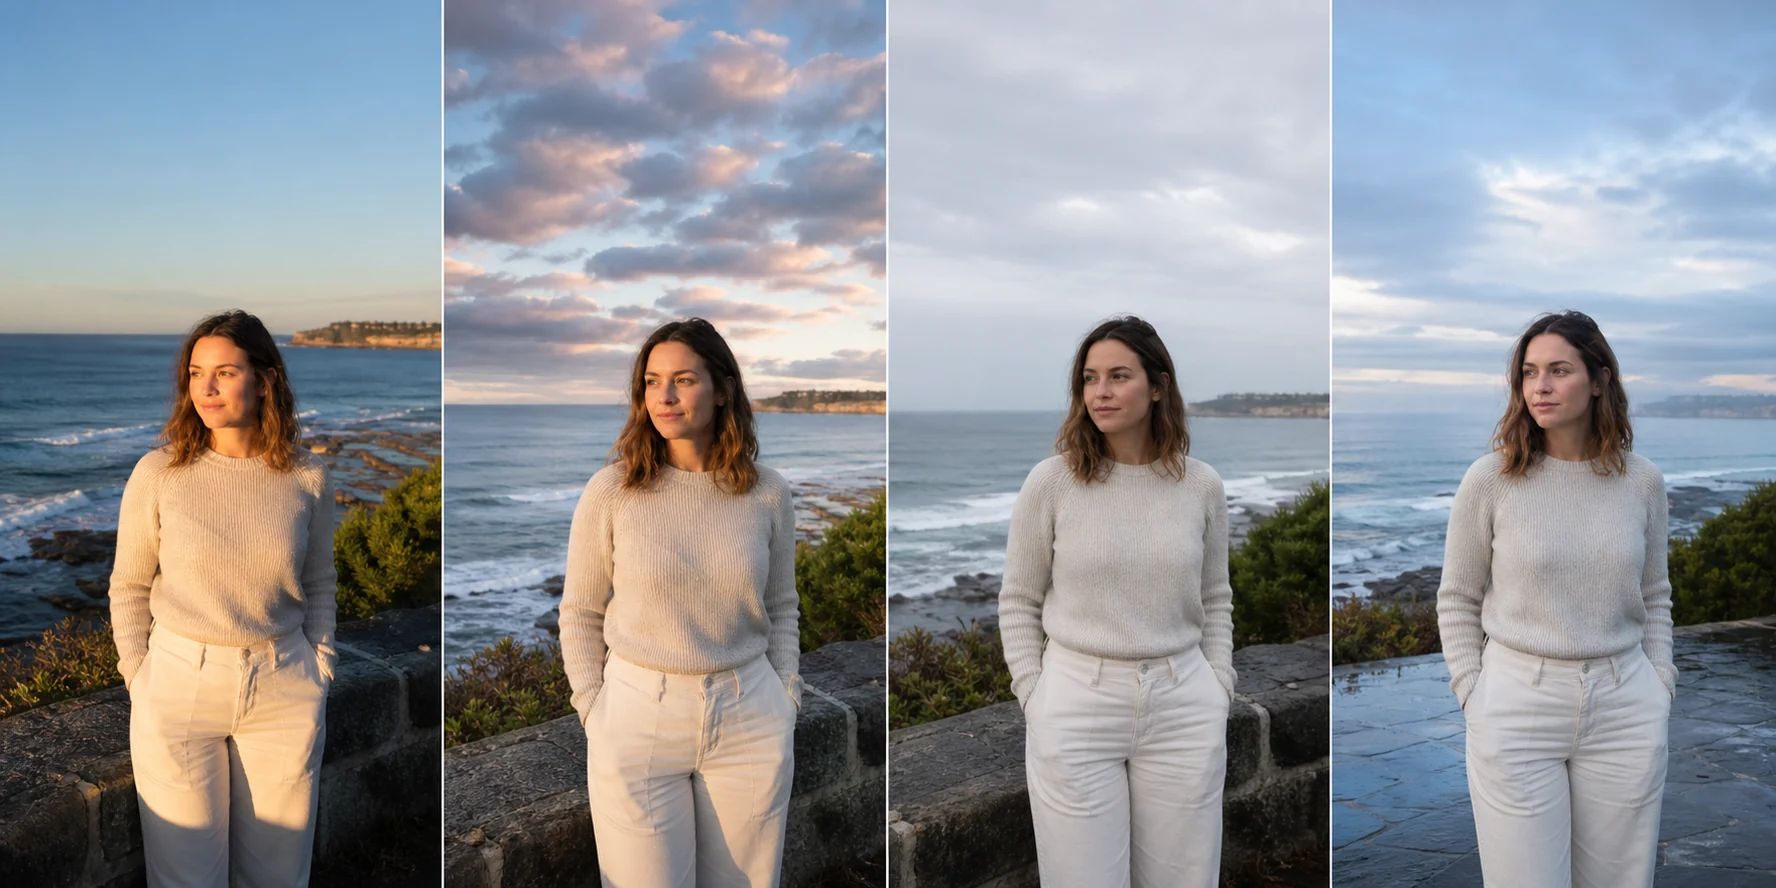
The process takes about five minutes once you know what to look for. It works for portraits, family sessions, travel photography and landscapes, and it gives you a usable plan even when the forecast is imperfect.
L: Lock the outcome
Choose the photograph before judging the weather
A portrait photographer may prefer soft, even light and calm wind. A landscape photographer may accept stronger wind in exchange for textured cloud. A city photographer may care less about sunset colour and more about when building lights balance with the blue sky. Someone photographing wet streets may actively want a passing shower followed by a clear break.
Write the goal in one sentence before opening the forecast: "I want softly lit family portraits with comfortable subjects", "I want warm backlight and cloud texture", or "I want reflections and colour after rain". This sentence becomes the filter for every later decision.
Even light, light wind
Turn faces towards the brightest open sky and use colour or depth behind them so the frame does not feel flat.
Low sun or broken cloud
Arrive early, keep faces in shade while the light is harsh, then move into backlight as the sun drops.
Texture and an open west
Check the real western horizon. Low cloud can block direct colour even when the total percentage looks promising.
Reflections and balance
Work from shelter after showers, or prepare the city composition before artificial lights balance with the sky.
For a closer comparison of clear, broken, overcast and wet conditions, use the photography weather guide. Choose the look first, then match the sky to it.
I: Inspect cloud and horizon
Cloud percentage is only the first clue
Two forecasts showing 50% cloud can create very different photographs. The Bureau of Meteorology groups clouds by height: low, middle and high. Low cloud near the horizon can block direct sunlight, while higher broken cloud may remain open enough to catch colour from below.
- Mostly clear: expect direct light, harder shadows and a cleaner horizon. Wait until the sun is low, use open shade or place the sun behind the subject.
- Broken cloud: look for texture plus a gap where light can enter. Contrast can change quickly, so prepare the composition early.
- Heavy overcast: expect soft, even light. Use deliberate direction, foreground depth and stronger colour to avoid a flat frame.
- Low dark cloud in the west: reduce expectations for direct sunset colour. Turn around and use the soft light on people, buildings or wet ground.
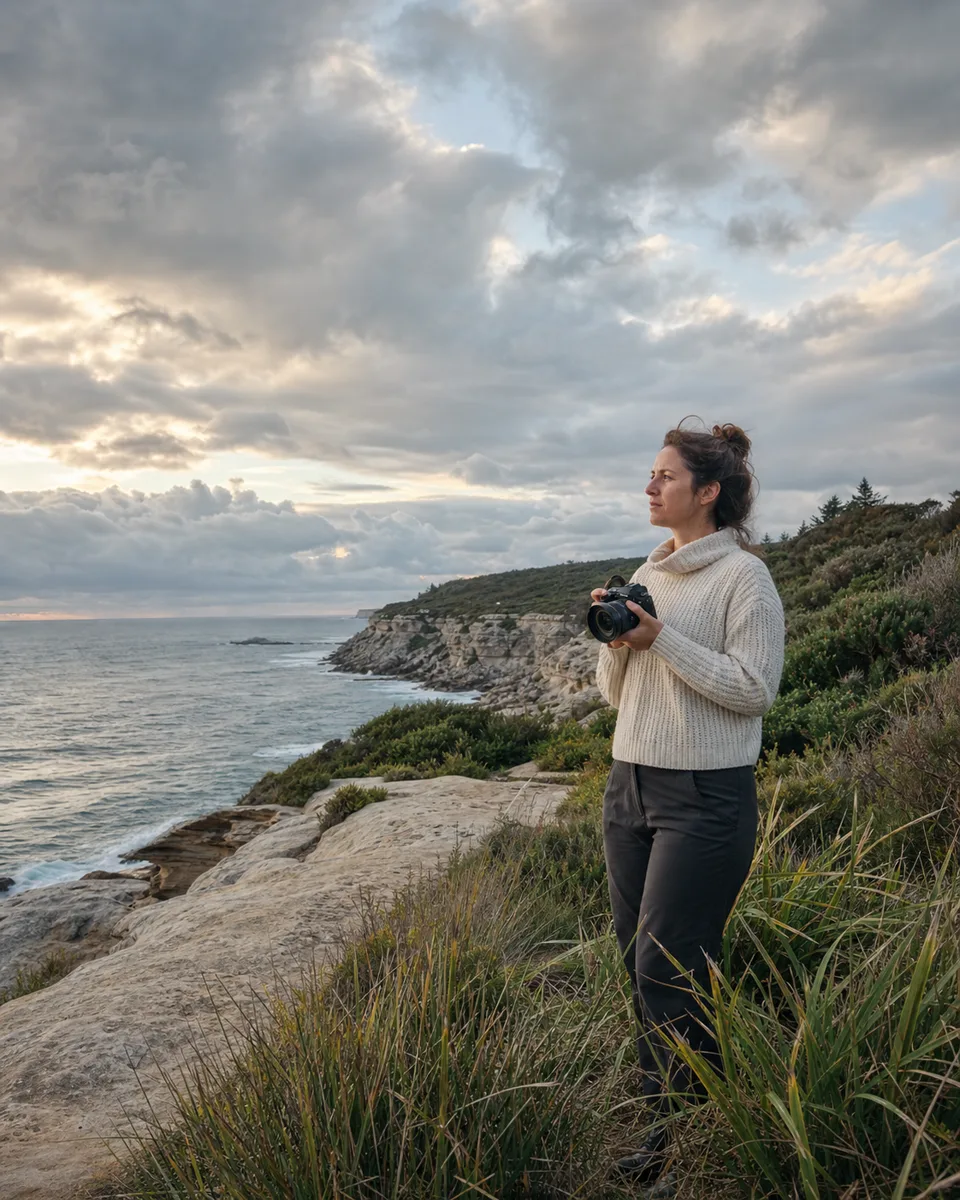
The key question is: "Will light have a path from the horizon to my subject or the underside of the cloud?" Check where the sun will set, what blocks that direction and which part of the location works if direct light disappears.
Use the golden hour calculator to build the initial schedule, then adjust for hills, buildings and the real horizon.
G: Gauge practical conditions
Wind, rain, temperature and UV decide whether the plan works
Wind changes the subject
Wind affects hair, long clothing, foliage, reflectors, tripods and audio. Average wind can also hide stronger gusts. An exposed headland and a sheltered laneway may feel completely different under the same city-wide number.
For portraits, ask whether the subject can settle naturally rather than whether the camera can technically make an exposure. Move behind a wall, dune, vegetation edge or building line when wind begins to dominate every frame.
Rain changes the working method
Separate the chance of rain from the amount and timing. If showers are possible, choose a real covered retreat, keep one lens cloth dry, avoid lens changes in active spray and prepare a reflection frame for wet paths or streets.
Temperature and UV affect stamina
Check apparent temperature at the actual shooting hour, not only the daily maximum. The Open-Meteo forecast documentation distinguishes apparent temperature and provides hourly cloud, precipitation, wind, visibility and radiation variables.
Cold subjects tense their shoulders and hands. Hot subjects tire quickly. ARPANSA advises sun protection when the UV Index reaches 3 or above. For longer daylight sessions, bring shade, water and suitable protection even when the photographic light looks gentle.
What changes the shoot?
Check the actual shooting hour
Wind
Hair and clothing stop settling
Response Move behind a wall, dune or building line.
Rain
Spray reaches the lens or gear
Response Use real cover and keep one lens cloth dry.
Temperature
Posture tightens or energy drops
Response Shorten blocks and plan warm-up or water breaks.
UV
Long daylight exposure builds
Response Bring shade, water and suitable protection.
Use the what-to-wear guide to turn apparent temperature into a starting layer, then adjust for standing still, walking, wind and rain.
H: Hunt for alternatives
Plan shelter and a fallback photograph
A strong plan gives you two usable photographs before the weather changes. If the main view needs open western light, the fallback might use soft sky light in the opposite direction. If the beach is too windy, move to a dune edge, covered walkway or sheltered street. If rain closes the landscape, use reflections, architectural detail or a tighter portrait.
- Primary frame: the photograph you want if the forecast holds.
- Shelter: where people and equipment can move within two minutes.
- Fallback frame: the photograph that works without direct sun.
- Exit: the safest and easiest route after dark or in worsening weather.
Four points before you start
Keep every move practical
Primary
The frame you want if the light holds.
Shelter
Real cover reachable with people and gear.
Fallback
A useful photograph without direct sun.
Exit
A simple route that remains safe after dark.
Australian cities have distinct weather rhythms. Coastal exposure, summer storms, dry heat, winter fronts and an early visual sunset between buildings can change the plan. Review the Australian city weather notes before choosing a location in an unfamiliar city.
T: Time each phase
"Meet at sunset" is not a schedule
Sunset is one transition inside a longer sequence of usable light. Build three times: arrival with enough time to check the real sky, the start of useful light for the subject, and a finish that leaves enough visibility to exit safely.
For a one-hour portrait session around sunset, a practical starting point is to arrive 15-25 minutes before shooting, begin while there is still directional light and finish shortly after sunset. The exact timing changes with season, latitude, horizon, cloud and the pace of the subjects.
For blue-hour city work, prepare the composition before sunset. For landscapes, keep shooting through changes rather than treating the listed sunset minute as the finish. OZSNAP's seven-day light comparison separates cloud, rain and wind so you can compare potential without treating a score as a promise.
Put LIGHT into practice
A family portrait session with uncertain evening cloud
Imagine a one-hour family session with 45% forecast cloud, a low chance of a brief shower and moderate coastal wind.
- Lock: relaxed family portraits with a few warm backlit frames.
- Inspect: broken cloud may add texture, but the western horizon needs a visible gap.
- Gauge: the shower risk needs shelter; wind makes the exposed headland unsuitable for the whole session.
- Hunt: begin on the sheltered side of the dunes and move to the open view only if conditions cooperate.
- Time: arrive 20 minutes before the planned start, photograph interaction in soft light first, then use the final open light for backlit frames.
If the western sky closes, the session still works. Stay in shelter, turn faces towards the brightest open sky and use the darker landscape for separation. If a brief shower passes, use reflected light afterwards. The forecast has not failed; the plan has changed frames.
Save this list
A five-minute pre-shoot checklist
The day before
- Write the photographic goal in one sentence.
- Check cloud, rain, wind, gusts, apparent temperature and UV.
- Confirm sunset and blue-hour timing for the location.
- Check official warnings and access conditions.
- Choose a primary frame, shelter, fallback frame and exit.
Two hours before
- Recheck the selected shooting hour rather than the daily summary.
- Look at radar or recent observations when showers are nearby.
- Confirm clothing, water and weather protection.
- Charge batteries and pack one dry lens cloth separately.
- Adjust the meeting point if wind or rain makes the primary location impractical.
On arrival
- Look at the real horizon and cloud movement.
- Test the wind where the subject will stand.
- Confirm that shelter remains accessible.
- Make the safe frame first.
- Move to the higher-risk light only when conditions support it.
Compare the next seven evenings
Choose portrait softness or sunset colour, compare the forecast and send the selected day to the shoot planner.
Open the weekly light forecastEvidence and next steps
Sources and further reading
- Cloud Types and Precipitation - Bureau of Meteorology
- Warnings and alerts - Bureau of Meteorology
- Weather Forecast API documentation - Open-Meteo
- Sun exposure and UV Index - ARPANSA
Match weather to the photograph
Compare clear, broken, overcast and wet conditions for portraits, landscapes and sunset colour.
Open the weather guide Plan the timeBuild a shoot around the sun
Calculate arrival, shooting and finish times for golden, soft or blue-hour light.
Open the calculator